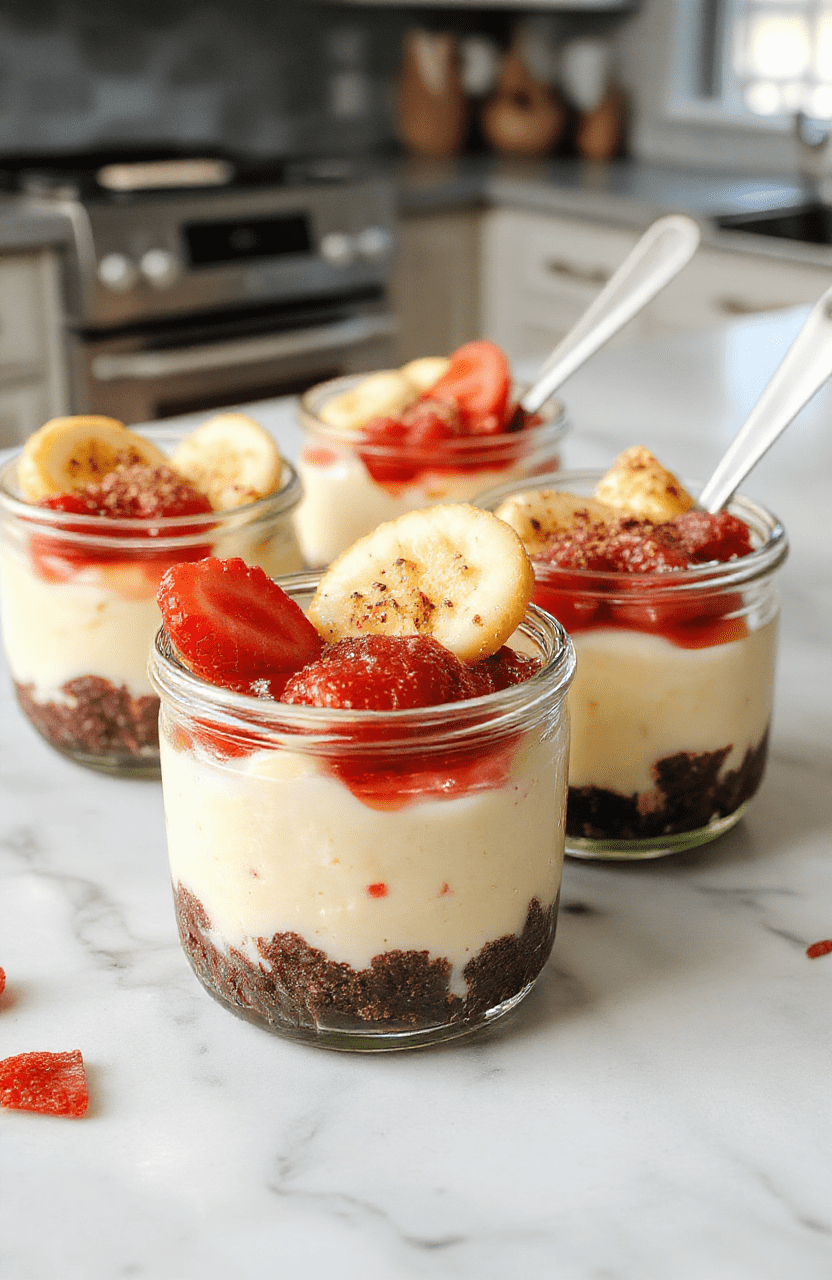
Healthy No Bake Cheesecake Jars for a Guilt Free Treat 🍓🫐
1. Introduction
Craving a creamy dessert without turning on the oven? These no bake cheesecake jars are silky, tangy, and naturally sweet, perfect for a quick treat. Made with yogurt, cream cheese, and a graham crust, this healthy cheesecake dessert satisfies the urge to indulge while keeping the calories in check. This no bake cheesecake jars recipe keeps things light and refreshing when the craving strikes.
Whether you’re treating yourself after a long day or packing a grab-and-go dessert for a picnic, these jars deliver satisfaction in every spoonful. For a full day of balanced meals, you can pair them with our banana-oat pancakes to start the day with wholesome flavors. If you’d like a berry pairing, try finishing with a bright blueberry lemon sorbet for a tangy contrast.
2. Why You’ll Love This Recipe
- Ready in under 30 minutes—from crust to jar.
- No oven required, keeping your kitchen cool and comfortable.
- Portion-controlled, portable treat that travels well.
- Flexible toppings and flavors let you customize the bliss. Explore ideas with our healthy toast toppings inspiration for crust alternatives and garnishes.
3. Ingredient Notes
For the crust, graham crackers or digestive biscuits work best because they crumble evenly and hold together with a touch of butter. If you’re allergic to gluten, swap in gluten-free crackers or oats ground into fine crumbs. The filling relies on a balance of cream cheese and yogurt to keep it creamy but lighter.
Why these ingredients matter: cream cheese gives structure and richness, while yogurt adds tang and creaminess without heaviness. A hint of vanilla and a touch of honey or maple syrup keep the sweetness natural and bright. Fresh lemon zest brightens the flavors and makes the filling feel refreshing rather than cloying.
Ingredient ideas and substitutes worth trying:
- Cream cheese—use full-fat for the richest texture, or light cream cheese for a lighter feel.
- Greek yogurt—thick, protein-rich, and provides a creamy tang.
- Sweetener—honey, maple syrup, or a touch of powdered sugar to taste.
- Crust—graham crackers, digestive biscuits, or a nut-meal crust for gluten-free options.
- Quality flavor boosters like vanilla, citrus zest, and fresh berries.
Want a dairy-free version? Use dairy-free cream cheese and coconut yogurt for a creamy, indulgent finish without dairy.
4. Kitchen Tools You Need
These tools make the no bake cheesecake jars effortless and consistently smooth. If you already own some, you’ll breeze through assembly.
- KitchenAid Artisan 5-Quart Stand Mixer in Scorched Orange — for silky, lump-free filling. It makes beating cream cheese and yogurt a breeze, especially when you’re making multiple batches. Shop now.
- JoyJolt Airtight Glass Food Storage Set — keeps your jars fresh in the fridge and makes transporting portions neat and attractive. Shop now.
- Compact 6-in-1 Digital Air Fryer by Amazon Basics — a versatile helper for warming toppings or creating a quick berry sauce topping in minutes. Shop now.
- Optional: a set of small jars or dessert cups for easy serving and gifting.
5. How to Make [Recipe Name]
Phase 1 — Prepare the crust
Crush graham crackers or biscuits into fine crumbs and mix with melted butter until the texture resembles wet sand. Press a spoonful into the bottom of each jar, packing gently so the crust holds its shape. The crust should look glossy where the butter has bound the crumbs. Chill briefly to set while you make the filling.
Phase 2 — Whip the filling
In a large bowl, beat softened cream cheese until smooth and creamy using your mixer. Add Greek yogurt, vanilla, and sweetener, then beat until light and airy with minimal lumps. The mixture should be glossy and hold a soft peak when you lift the beater. If you want extra brightness, fold in a little lemon zest.
Phase 3 — Assemble and chill
Spoon the filling onto the crusts, leaving a little space at the top for toppings. Add a light layer of fresh berries or berry compote, then refrigerate the jars for at least 2 hours to set. The edges should be clean and the centers firm but yielding when you gently press. Serve cold for the best texture and flavor.
6. Expert Tips for Success
- Make sure all dairy is at room temperature before mixing. This prevents lumps and yields a smoother filling.
- Beat the filling just until smooth; overmixing can introduce air and cause cracking or separation.
- Chill the jars long enough so the filling firms up; a minimum of 2 hours makes a noticeable difference.
- Use fine crumbs for the crust to avoid a sandy texture. If your crumbs are too coarse, pulse longer in a blender.
- For prettier layers, chill the crust briefly before adding the filling, then add a second small layer of crust after the filling for extra crunch.
7. Variations & Substitutions
- Dairy-free: use dairy-free cream cheese and coconut yogurt, and swap graham crackers for a gluten-free oat crust.
- Nutty crust: replace part of the cracker crumbs with finely chopped toasted almonds or pecans for a toasty flavor.
- Fruit-forward: top with raspberry coulis, mango salsa, or sliced kiwis for a sunny, tropical twist.
- Chocolate version: fold in a tablespoon of melted dark chocolate into the filling and finish with shaved chocolate on top.
8. Storage & Reheating
Store the assembled jars in the refrigerator for up to 3 days. Keep them covered to prevent the crust from soaking up extra moisture. These no bake cheesecake jars are best served chilled, and there’s no need to reheat. If you want to enjoy a warm topping, use the optional citrus berry compote warmed quickly in a skillet or the air fryer for a minute or two.
9. FAQ
Can I freeze no bake cheesecake jars?
Freezing is possible, but the texture may change slightly after thawing. Freeze individual jars for up to 2 weeks; thaw in the fridge for several hours before enjoying. For best texture, keep jars unfrozen and refrigerate until serving.
Do I need gelatin or other thickeners?
No gelatin is needed. The combination of cream cheese and yogurt is enough to set with chilling time. If you prefer a firmer texture, briefly refrigerate the mixture after filling before chilling fully in the fridge.
Are these jars dairy-free or gluten-free?
They can be dairy-free with dairy-free cream cheese and coconut yogurt. For gluten-free, use gluten-free crackers or oats for the crust and ensure any toppings are gluten-free.
Can I make these ahead for a party?
Yes. Assemble the crust and filling a day ahead, keep the jars covered in the fridge, and add toppings just before serving for maximum contrast and brightness.
10. Conclusion
These healthy no bake cheesecake jars deliver creamy indulgence with a bright, airy texture and a fraction of the effort of a traditional cheesecake. They’re flexible, wallet-friendly, and crowd-pleasing—a guilt free dessert that still feels special. Try different toppings, swap in your favorite fruits, and savor the cool, refreshing bite with every spoonful.
Print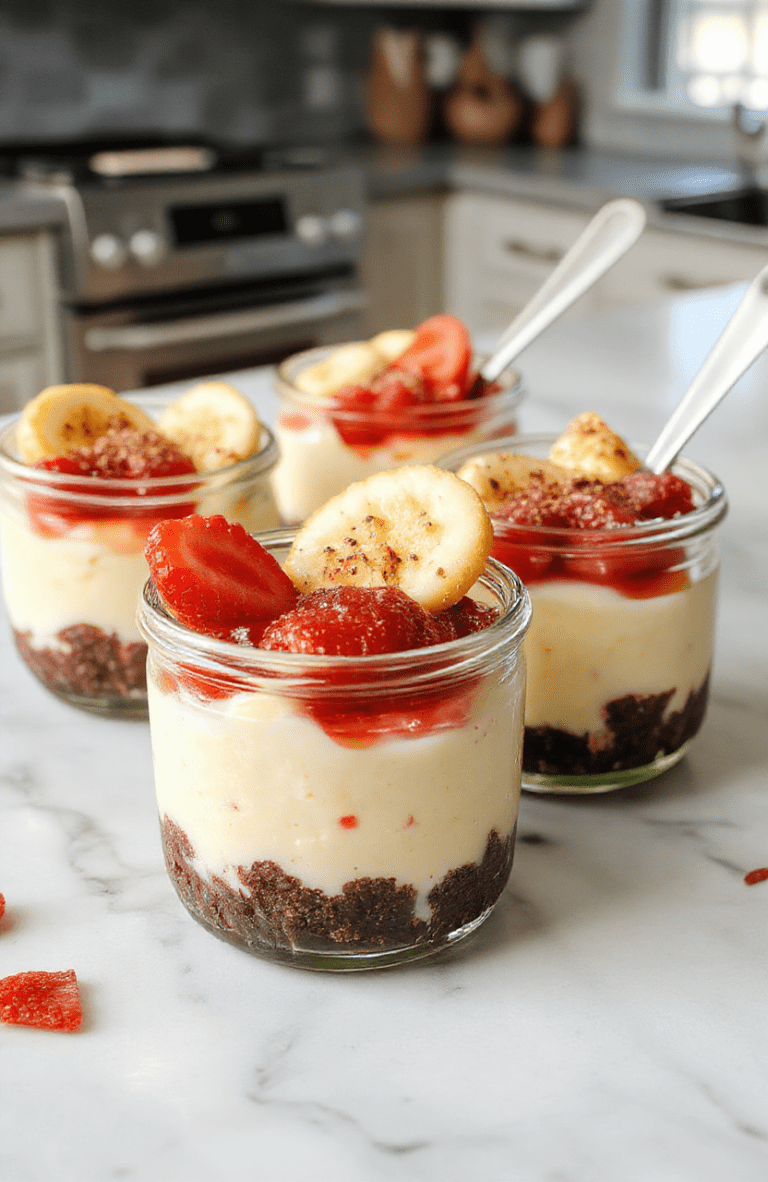
Healthy No Bake Cheesecake Jars for a Guilt Free Treat
Light, creamy filling layered over a buttery biscuit crust, portioned into jars for easy serving. A healthy, crowd-pleasing treat that’s ready in minutes with chill time.
- Total Time: 35 minutes plus chill time
- Yield: 4-6 servings
Ingredients
- 1 cup (225 g) cream cheese, softened
- 1/2 cup (120 g) plain Greek yogurt or sour cream
- 2-3 tbsp powdered sugar, to taste
- 1 tsp vanilla extract
- 1/2 tsp lemon zest
- 1 cup (120 g) graham crackers, finely crushed
- 2 tbsp melted butter
- 1 cup mixed berries for topping
- Fresh mint leaves for garnish (optional)
Instructions
- Beat cream cheese, yogurt, sugar, vanilla, and lemon zest until smooth.
- Mix crushed crackers with melted butter to form a crust; press into the bottoms of 4-6 jars.
- Spoon filling into jars and smooth the tops.
- Chill 2-4 hours until set, then top with berries before serving.
Notes
- Make ahead: Chill jars 2-3 days in the fridge.
- Gluten-free option: Use gluten-free crackers or almond flour for crust.
- To lighten, substitute half the cream cheese with Greek yogurt.
- Prep Time: 15 minutes
- Cook Time: 0 minutes
- Method: No-Bake
- Cuisine: American
- Diet: Vegetarian
Nutrition
- Serving Size: 1 jar (150 g)
- Calories: 190 Kcal
- Sugar: 12 g
- Sodium: 120 mg
- Fat: 11 g
- Saturated Fat: 6 g
- Unsaturated Fat: 4 g
- Trans Fat: 0 g
- Carbohydrates: 16 g
- Fiber: 1 g
- Protein: 7 g
- Cholesterol: 40 mg