🍽️ Easy Chicken Enchiladas for Weeknight Dinners 🍗🌶️
1. Introduction
On busy weeknights, nothing hits the spot like a pan of easy chicken enchiladas. This dish delivers a cozy, cheesy hug with every bite—savory shredded chicken, smoky peppers, and a silky sauce that clings to warm tortillas. If you crave a quick chicken enchiladas that tastes like it simmered all afternoon, you’ve found your new weeknight staple.
The aroma alone tells you you’re in for something comforting yet bright, with a hint of cumin and garlic that wakes up the senses. This recipe is designed to be flexible, so you can tweak it to your family’s tastes and still keep things simple for weeknights. For a crispy side dish to round out the meal, check out Crispy Garlic Parmesan Potato Wedges.
2. Why You’ll Love This Recipe
- Ready in 30 minutes or less, perfect for weeknight dinners.
- One-pan comfort that minimizes cleanup while delivering big flavors.
- Family-friendly enchiladas with customizable fillings and a creamy sauce.
- Make-ahead and freezer-friendly so you can meal-prep for busy weeks.
3. Ingredient Notes
Choosing the right ingredients elevates the dish without complicating prep. Tortillas that stay pliable while holding their shape are essential—look for soft corn or flour tortillas labeled as “whole” or “soft” for best results. Use a balanced enchilada sauce, either homemade or a store-bought red sauce with a mellow heat to carry the flavors without overpowering the chicken.
Chicken should be tender and juicy, so rotisserie chicken works wonderfully or simmer your own breast with a pinch of salt until it shreds easily. A two-cheese strategy—Monterey Jack and sharp cheddar or queso fresco—gives a creamy melt with a hint of tang. Aromatics like onion and garlic build a foundation that keeps the dish vibrant. Optional add-ins like corn, black beans, or jalapeños can be folded into the filling for extra texture and color.
Tips for best results: drain excess sauce to avoid soggy enchiladas, and warm the tortillas briefly so they bend without tearing. If you’d like to explore more quick ideas, see our high-protein breakfasts for inspiration, or pair this dish with a side like crisp mozzarella sticks when hosting friends.
For a comforting potato-side that complements enchiladas, try our Crispy Garlic Parmesan Potato Wedges, or explore a one-pan dinner like our Crispy Polish Sausage and Potatoes One-Pan Dinner for quick weeknight inspiration.
4. Kitchen Tools You Need
Having the right tools makes assembly and baking effortless. A sturdy nonstick bake dish helps the enchiladas release cleanly and keeps cleanup quick. To speed up melting cheese and reheating leftovers, a versatile appliance like the Compact 6-in-1 Digital Air Fryer can be a game-changer for finishing the tops with a golden crust. For even more reliability, a good T-fal 14-Piece Nonstick Cookware Set ensures no-snag rolling and even heating during prep.
If you prefer a countertop all-in-one, the Ninja Foodi Smart XL Indoor Grill & Air Fryer Combo handles sautéing, finishing, and toasting at once. A quality stand mixer and trusted bakeware also help you get consistent results if you like to prep fillings ahead or bake in larger batches. Check out the following essentials:
- Ninja Foodi Smart XL Indoor Grill & Air Fryer Combo
- T-fal 14-Piece Hard Anodized Nonstick Cookware Set
- Compact 6-in-1 Digital Air Fryer
Other handy gear to consider includes a reliable KitchenAid Artisan Stand Mixer for prepping fillings in large batches, and a sturdy Presto pressure canner if you like to prep ingredients ahead and preserve flavors for longer-term menus.
5. How to Make Easy Chicken Enchiladas
Phase 1 — Prep the filling
Warm a splash of oil in a skillet and sauté onion until translucent, about 2 minutes. Add garlic for a kiss of aroma, then fold in shredded chicken and a portion of enchilada sauce. Stir until everything is coated and glossy. The filling should look saucy but not swimming—you want it to cling to the tortillas when rolled.
Phase 2 — Roll and fill
Lightly warm the tortillas to soften them, then spoon the filling along the center. Roll them snugly and place seam-side down in a baking dish. After you’ve lined the pan, drizzle remaining sauce over the top and sprinkle with cheese. The surface should shimmer with sauce and gleam with melted cheese before baking.
Phase 3 — Bake and finish
Bake at a moderate heat until the cheese is bubbling and golden, about 15–20 minutes. The kitchen will fill with a comforting, toasty scent as the edges crisp ever so slightly. Let the enchiladas rest for a few minutes to set before serving so they hold their shape when plated.
Phase 4 — Serve
Finish with a handful of fresh cilantro, a squeeze of lime, or a dollop of sour cream. These enchiladas pair beautifully with a light salad or a side of the potato wedges mentioned earlier. If you’re feeding a crowd, you can double the batch and bake in an extra pan—your family will thank you for the easy, crowd-pleasing flavors.
6. Expert Tips for Success
- Preheat your oven so the cheese melts evenly the moment the dish goes in.
- Warm tortillas slightly to prevent cracking and tearing when you roll them.
- Drain excess sauce to avoid soggy enchiladas—you want a balanced sauciness.
- Mix cheeses for depth: use a melty option like Monterey Jack with a sharper cheddar for bite.
- For extra brightness, finish with a squeeze of lime and freshly chopped cilantro.
- Make ahead: assemble the rolls, cover tightly, and refrigerate up to 24 hours before baking.
7. Variations & Substitutions
- For a vegetarian version, swap the chicken for black beans or sautéed mushrooms and add corn for sweetness.
- Gluten-free? Use traditional corn tortillas and verify your enchilada sauce is gluten-free.
- Spice level: add minced jalapeños or a pinch of chipotle chili powder for Smoky heat.
- Dairy-free: use dairy-free cheese shreds and a dairy-free enchilada sauce—still crema-like when baked.
8. Storage & Reheating
Store leftovers in an airtight container in the fridge for up to 3–4 days. Reheat in the microwave in 1–2 minute bursts or in a 350°F (175°C) oven until heated through and cheese is melted again. You can freeze assembled, uncooked enchiladas for up to 2 months; thaw in the fridge overnight and bake as directed.
9. FAQ
Q: Can I make this ahead?
A: Yes. Assemble, cover tightly, and refrigerate up to 24 hours before baking. The flavors meld beautifully when you give them a little extra time to rest.
Q: How do I keep the tortillas from getting soggy?
A: Drain excess sauce and briefly warm tortillas before rolling. Use a light hand with cheese on top so the surface doesn’t become overwhelmed by moisture.
Q: Can I freeze these enchiladas?
A: Absolutely. Freeze assembled (not baked) enchiladas in a freezer-safe dish up to 2 months. Thaw overnight in the fridge and bake as directed.
Q: What can I serve with these?
A: A fresh salad, a side of our potato wedges, or a simple avocado crema pairs wonderfully with the creamy enchiladas for a complete meal.
10. Conclusion
These Easy Chicken Enchiladas are a dependable weeknight hero—easy to assemble, deeply satisfying, and flexible enough to suit your cravings. With a kiss of spice, a hug of cheese, and a bright finish, they make weeknights feel special without extra effort. Give them a try and tailor the fillings to your family’s favorites for a family-friendly staple you’ll reach for again and again.
Print
Easy Chicken Enchiladas for Weeknight Dinners
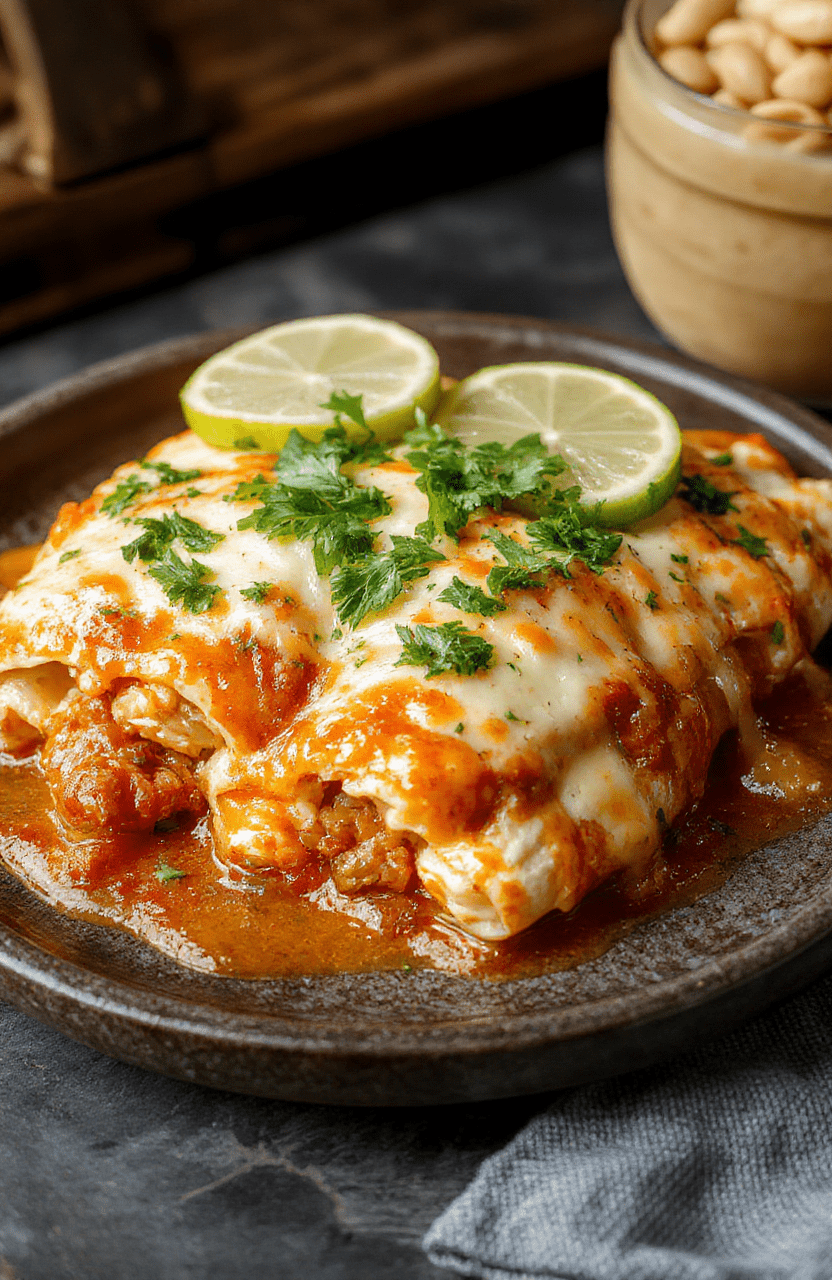
Creamy chicken enchiladas with melted cheese in a vibrant tomato-chili sauce, perfect for weeknight dinners. Easy to customize and crowd-pleasing.
- Total Time: 40 mins
- Yield: 6 servings
Ingredients
- 12 small corn tortillas
- 2 cups shredded cooked chicken
- 2 cups red enchilada sauce, divided
- 1 cup shredded cheese (Mexican blend or cheddar)
- 1/2 cup diced onion
- 2 cloves garlic, minced
- 1 teaspoon ground cumin
- 1/2 teaspoon chili powder
- 1/4 cup chopped fresh cilantro
- Salt and pepper to taste
- Optional toppings: sour cream, avocado slices, lime wedges
Instructions
- Preheat oven to 375°F (190°C).
- Warm tortillas to soften (microwave with a damp towel or in a dry skillet).
- In a bowl, mix chicken, 1 cup enchilada sauce, onion, garlic, cumin, chili powder, and cilantro; season with salt and pepper.
- Spoon filling into tortillas, roll tightly, and place seam-side down in a greased baking dish.
- Pour remaining sauce over the enchiladas and sprinkle with cheese.
- Bake 20–25 minutes until bubbling and cheese is melted. Let rest 5 minutes before serving.
Notes
- Make ahead: fill and roll the enchiladas, cover, and refrigerate up to 24 hours before baking.
- To lighten this dish, use low-fat cheese and enchilada sauce.
- Pair with Spanish rice and refried beans for a complete meal.
- Prep Time: 15 mins
- Cook Time: 25 mins
- Method: Baking
- Cuisine: Mexican-inspired
- Diet: Non-Veg, Contains Dairy
Nutrition
- Serving Size: 1 enchilada
- Calories: 320 Kcal
- Sugar: 6 g
- Sodium: 720 mg
- Fat: 15 g
- Saturated Fat: 7 g
- Unsaturated Fat: 6 g
- Trans Fat: 0 g
- Carbohydrates: 28 g
- Fiber: 5 g
- Protein: 25 g
- Cholesterol: 75 mg