🍯 Sticky Brown Sugar Garlic Chicken — Fall-Off-the-Bone Tender, Glazy Perfection in 30 Minutes!
1. Introduction
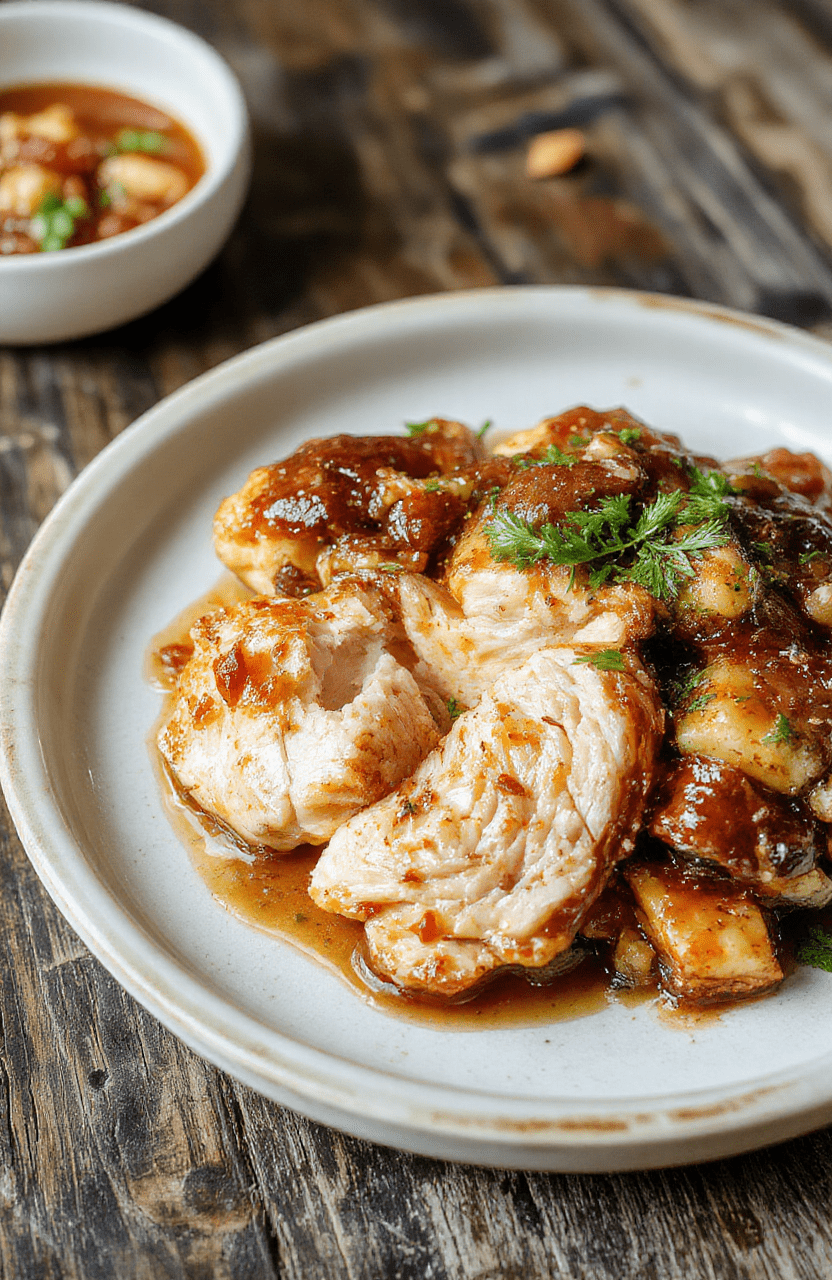
If you’re craving a dish that balances rich sweetness with bold umami depth, this sticky brown sugar garlic chicken is your new weeknight hero. Tender chicken thighs are seared to golden perfection, then bathed in a sticky, glossy glaze made with brown sugar, fresh garlic, soy sauce, and a hint of lime. The result? A Korean-inspired glaze that caramelizes beautifully — clingy, shiny, and impossibly flavorful. Think of it as the perfect hybrid of garlic soy chicken and honey garlic chicken thighs, with a deeper, toasty richness from dark brown sugar instead of just honey. It’s comfort food with intention — quick enough for a weeknight but impressive enough for guests.
2. Why You’ll Love This Recipe
- ✅ Ready in under 30 minutes — from prep to plate, no long simmering required.
- ✅ One-pan wonders — fewer dishes, more flavor retention (especially in a heavy skillet).
- ✅ Uses pantry staples — no obscure ingredients, just bold, approachable flavors.
- ✅ Gluten-free adaptable — just swap tamari for soy sauce.
- ✅ Pairing paradise — tastes amazing over steamed rice, roasted veggies, or even in lettuce wraps.
3. Ingredient Notes
The magic of this sticky brown sugar garlic chicken lies in the balance — not too sweet, not too salty, but deeply savory with a bright finish. Here’s why I recommend specific ingredients:
- Dark brown sugar — its molasses content adds richness and depth. Light brown works in a pinch, but the color and flavor won’t be quite as luxurious.
- Garlic — fresh & minced — bottled garlic loses its punch. The aroma when it hits the hot pan? That’s where the fragrance begins.
- Low-sodium soy sauce — gives you control over saltiness. You can always add more, but you can’t take it out — and this glaze is delicious, not overwhelming.
- Apple cider vinegar — cuts the sweetness and adds bright acidity. White wine vinegar works too, but apple cider brings a subtle fruitiness.
- Chicken thighs — boneless, skinless are ideal for quick cooking, but thigh meat is forgiving and stays juicy even if you overcook it slightly.
- Fresh lime juice & zest — non-negotiable. The zesty lift balances the glaze’s sweetness and adds complexity.
4. Kitchen Tools You Need
While you absolutely *can* make this dish in any skillet, the right tools ensure crispier edges, better caramelization, and less cleanup. Heres a few high-performance options I trust:
- Compact 6-in-1 Digital Air Fryer by Amazon Basics — great for quick batch-cooking thighs (spritz with oil, air fry at 400°F for 12–14 mins, flip, glaze).
- T-fal 14-Piece Hard Anodized Nonstick Cookware Set — a heavy-duty skillet ensures even heat and perfect sear without sticking.
- Ninja Foodi Smart XL Indoor Grill & Air Fryer Combo — for that charred, restaurant-grade glaze finish.
- Philips 7000 Series Pasta Maker with 8 Shaping Discs — yes, I included it… because why not make custom noodles to toss with the chicken later?
Want to prep smarter? The Fullstar Ultimate Veggie Prep Master makes mincing garlic and shredding ginger a breeze. And after cooking? Store leftovers in JoyJolt Airtight Glass Food Storage Set — no plastic, no odors, just clean leftovers.
5. How to Make Sticky Brown Sugar Garlic Chicken
Phase 1: Prep & Marinate (5 minutes)
In a medium bowl, whisk together ½ cup brown sugar, 3 tbsp low-sodium soy sauce, 2 tbsp apple cider vinegar, 1 tbsp lime zest, 4 minced garlic cloves, 1 tsp grated fresh ginger, and 1 tsp sesame oil. Set aside.
Pat chicken thighs dry — this is key for a good sear. Season lightly with black pepper (no salt needed — soy sauce will handle the savory load).
Phase 2: Sear to Perfection (8–10 minutes)
Heat 1 tbsp avocado or grapeseed oil in a large ovenproof skillet over medium-high heat. Once shimmering, add chicken skin-side-down (if using skin-on) or flesh-side-down first. Sear 4–5 minutes per side until deeply golden — look for those beautiful caramelized edges. Don’t rush this step: color = flavor.
Phase 3: Simmer in the Glaze (6 minutes)
Reduce heat to medium, pour the glaze mixture over the chicken. It will bubble wildly — that’s normal! Stir gently, ensuring the sauce coats both chicken and pan. Cover and simmer for 5–6 minutes, basting occasionally. Uncover and cook 1–2 more minutes to thicken — the sauce should coat the back of a spoon and look glossy, not watery.
Phase 4: Finish & Serve (2 minutes)
Squeeze in 1 tsp fresh lime juice — this brightens everything. Garnish with sliced green onions, toasted sesame seeds, and a lime wedge. Serve immediately over jasmine rice or steamed bok choy.
6. Expert Tips for Success
- Don’t stir too much while searing — let that crust develop. A good sear adds texture contrast to the sticky glaze.
- Use dark brown sugar — it’s deeper, less cloying than light brown or pure honey.
- Let it rest 2 minutes before serving — the sauce continues to thicken and cling as it sits.
- Add a splash of water if it reduces too quickly — burnt garlic is bitter. Keep an eye on the pan after the 5-minute mark.
- Bone-in thighs? Add 5–7 minutes to cook time. Internal temp should be 165°F (74°C).
7. Variations & Substitutions
- Spicy Version — add 1 tsp gochugaru (Korean chili flakes) or red pepper flakes with the garlic.
- Sugar-Free — swap brown sugar for allulose or monk fruit blend (measure 1:1).
- Vegan — use extra-firm tofu or jackfruit. Marinate 30+ minutes, then bake or air fry.
- Instant Pot Option — Sauté chicken first, remove. deglaze with glaze. Add chicken back, seal, and pressure cook 8 minutes. Quick release, then thicken on “Sauté.”
- Citrus Swap — orange juice + zest gives a brighter, more “Honey Garlic” vibe.
8. Storage & Reheating
Refrigerator: Store in airtight container for up to 4 days. The sauce thickens significantly — loosen with a splash of water or broth when reheating.
Freezer: Freeze for up to 3 months. Thaw overnight in fridge before reheating.
Reheat on Stovetop: Warm over low heat, stirring gently, until hot throughout.
Reheat in Air Fryer: 350°F for 5–6 minutes — helps crisp up edges again!
9. FAQ
Q: Can I use chicken breasts?
A: Yes — but they dry out faster. Reduce cooking time by 2–3 minutes and check internal temp at 160°F. Rest before slicing.
Q: My sauce didn’t thicken — what went wrong?
A: You likely used too much liquid or didn’t simmer uncovered long enough. Simmer 2–3 minutes uncovered to reduce and coat. Cornstarch slurry (1 tsp cornstarch + 1 tbsp water) works in a pinch.
Q: Can I make this ahead?
A> Absolutely! Make the glaze ahead and store separately. Sear chicken just before serving, then toss with warm glaze.
Q: What makes it “Korean-style”?
A> The combination of gochugaru (optional), sesame oil, garlic, ginger, and soy creates the foundation for many Korean ddeokgalbi or dak-galbi glazes — this version simplifies it for home cooks.
10. Conclusion
This sticky brown sugar garlic chicken is proof that simplicity, when done right, can be *everything*. Think of it as the culinary equivalent of your favorite fall sweater — cozy, familiar, and instantly comforting. Serve it with your go-to side (we love moist banana bread with a savory-sweet twist or dump-and-go pork chops for a double carb-and-protein treat), and you’ve got a weeknight feast that feels like celebration. Give it a try — your taste buds (and your kitchen) will thank you. And if you make it, tag me — I love seeing your versions! 🍗✨
Print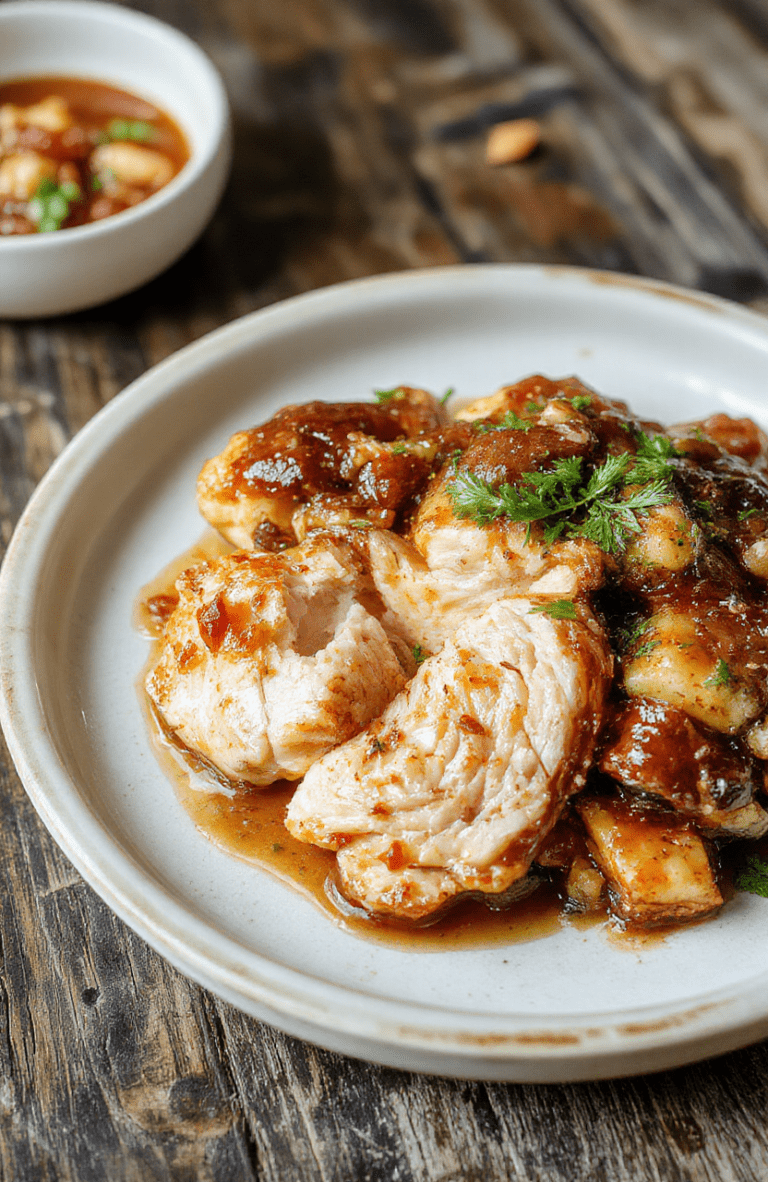
Sticky Brown Sugar Garlic Chicken
This sticky brown sugar garlic chicken features tender, juicy chicken thighs glazed in a irresistible sweet-savory sauce of brown sugar, garlic, soy sauce, and rice vinegar — ready in under 30 minutes.
- Total Time: 25 minutes
- Yield: 4 servings
Ingredients
- 1.5 lbs boneless, skinless chicken thighs
- 2 tbsp soy sauce (low-sodium)
- 3 tbsp packed light brown sugar
- 4 cloves garlic, minced
- 1 tbsp rice vinegar
- 1 tsp grated ginger
- 1/4 tsp red pepper flakes (optional)
- 1 tbsp olive oil
- Sesame seeds and sliced green onions for garnish
- Steamed rice and vegetables for serving
Instructions
- Pat chicken dry and season lightly with salt.
- Heat olive oil in a large skillet over medium-high heat. Cook chicken 5–6 minutes per side until golden and cooked through (165°F internal temp). Transfer to a plate.
- Reduce heat to medium. Add soy sauce, brown sugar, garlic, ginger, rice vinegar, and red pepper flakes to the skillet. Simmer 2–3 minutes until slightly thickened.
- Return chicken to skillet, coating thoroughly in sauce. Simmer 1–2 more minutes until glossy and sticky.
- Serve over rice, garnished with sesame seeds and green onions.
Notes
- For extra tenderness, marinate chicken in the sauce (minus glaze cooking) for 30 minutes before cooking.
- Use thighs instead of breasts for juicier results—breasts can dry out quickly.
- Double the sauce and reduce further for a extra-sticky glaze.
- Prep Time: 10 minutes
- Cook Time: 15 minutes
- Method: Stovetop
- Cuisine: Korean-inspired / Asian Fusion
- Diet: Contains gluten (soy sauce); can be made gluten-free with tamari
Nutrition
- Serving Size: 1 thigh
- Calories: 285 Kcal
- Sugar: 12g
- Sodium: 540mg
- Fat: 12g
- Saturated Fat: 3g
- Unsaturated Fat: 8g
- Trans Fat: 0g
- Carbohydrates: 18g
- Fiber: 1g
- Protein: 28g
- Cholesterol: 95mg