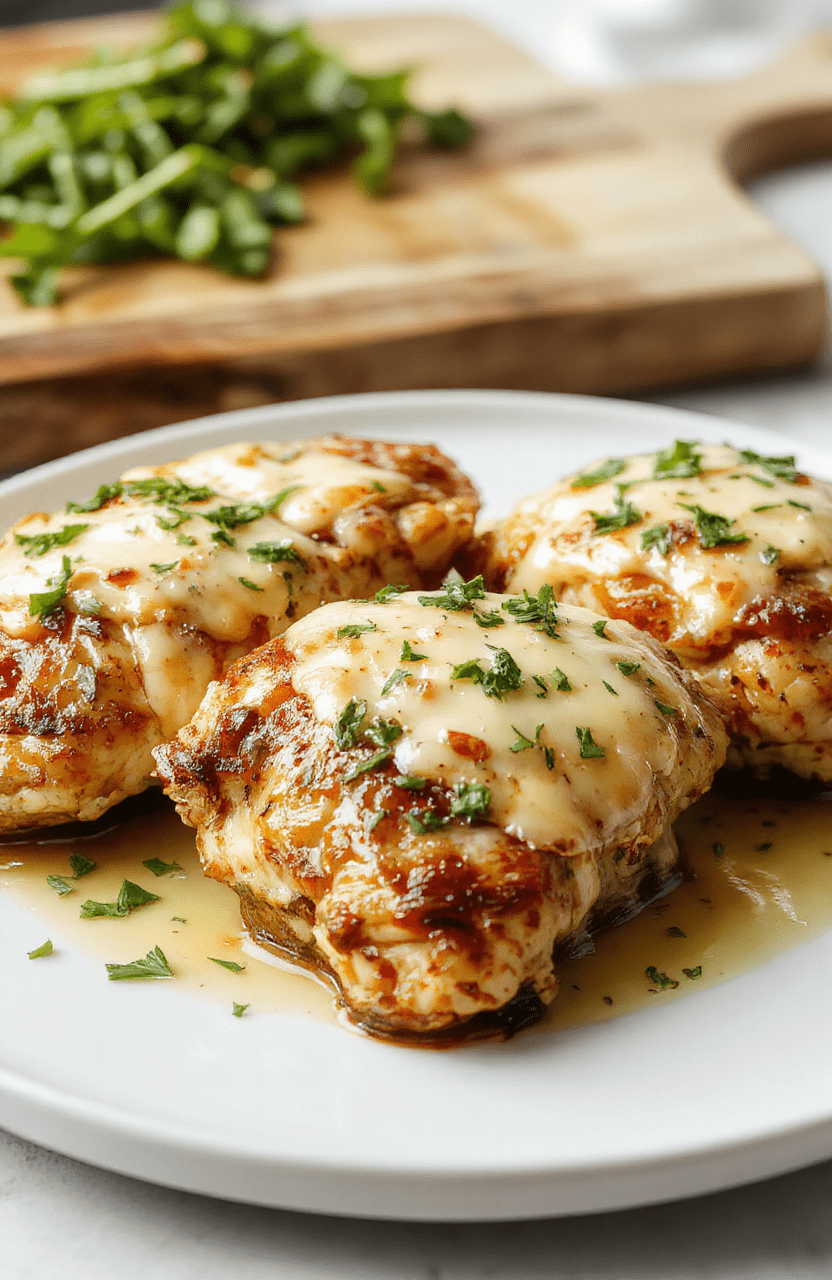
🧄✨ Garlic Butter Chicken Thighs: juicy, aromatic, and ready in under 30 minutes!
1. Introduction
If you’re craving something rich, savory, and effortlessly impressive, you’ve just found your new go-to garlic butter chicken thighs recipe. Tender, skin-on chicken thighs get seared to golden perfection, then bathed in a luscious sauce of melted butter, fresh garlic, lemon juice, and a hint of rosemary. It’s comfort food done right—no fancy techniques, no complicated cleanup, and absolutely no regret. This fast weeknight dinner delivers restaurant-quality flavor in half an hour, while still tasting like you gave it hours of love. Pair it with mashed potatoes, roasted veggies, or even a simple salad—and watch it disappear faster than you can say “more, please.”
2. Why You’ll Love This Recipe
- Ready in 30 minutes—perfect for busy weeknights without sacrificing flavor or nutrition.
- One-pan chicken dinner—minimal cleanup and maximum flavor retention since nothing gets lost in transition.
- High-protein & satisfying: chicken thighs offer more iron and B vitamins than breasts, plus that juicy texture everyone craves.
- Versatile & forgiving: tweaks for dietary needs (gluten-free, dairy-free) are easy and delicious.
- Fridge-to-plate in no time: uses pantry staples and fresh herbs you likely already have on hand.
3. Ingredient Notes
Every ingredient here has a job—and a smart one at that:
- Chicken thighs with skin-on: Skin protects the meat from drying out and crisps up beautifully, locking in moisture and flavor.
- Unsalted butter: gives a clean, rich base. (If using salted, reduce added salt by ¼ tsp.)
- Fresh garlic, minced: essential. Pre-minced can burn easily—but if you must use jarred, add it *after* the initial sear to avoid bitterness.
- Extra-virgin olive oil: high-heat stability and a fruity brightness that balances the richness.
- Fresh rosemary: earthy and aromatic; fresh is non-negotiable here for that bright, pine-like lift.
- lemon juice + zest: adds acidity to cut through the butter and brighten the garlic. Don’t skip the zest—it’s flavor perfume!
- Sea salt & cracked black pepper: finish with flaky salt for a satisfying crunch and balance.
P.S. For a boost of umami, stir in 1 tsp of homemade tonkatsu sauce at the end—or swap out half the butter for ghee if you’re lactose-sensitive.
4. Kitchen Tools You Need
A few smart tools make all the difference—especially when speed and crispness matter.
T-fal 14-Piece Hard Anodized Nonstick Cookware Set
Why we love it: This set’s heavy-duty base ensures even heat distribution—no hot spots that char your garlic. Plus, the nonstick surface makes cleanup after this buttery dish a breeze.
Ninja Air Fryer Pro Crisp & Roast 4-in-1
Why we love it: Love crispy skin but want less grease? After searing the chicken in a skillet, transfer it to this air fryer for 3–4 minutes at 400°F (200°C) to finish with that perfect crunch—no oven needed.
Ninja Mega Kitchen Power System
Why we love it: Use the food processor to finely mince garlic and herbs in seconds—no more tearful chopping. The included blade works brilliantly for the rosemary and lemon zest combo.
JoyJolt Airtight Glass Food Storage Set
Why we love it: Leftovers? Store them in these stackable, leakproof containers. They’re microwave- and freezer-safe, and the clear glass lets you plan meals ahead with zero waste.
Clever Fox DIY Family Recipe Journal
Why we love it: Write down your tweaks—like adding a splash of white wine or swapping in thyme—for next time.Preserve memories *and* perfected meals.
5. How to Make Garlic Butter Chicken Thighs
Phase 1: Prep & Pat Dry (5 minutes)
Rinse chicken thighs under cold water, then pat *extremely* dry with paper towels—this step is key for golden, crisp skin. Season both sides generously with salt and pepper.
Phase 2: Sear to Perfection (5–6 minutes)
Heat olive oil in a large skillet (preferably cast iron or stainless steel) over medium-high heat until shimmering. Add chicken, skin-side down. Resist the urge to move it! Sear undisturbed for 5–6 minutes, until the skin is deep golden brown and releases easily from the pan. Flip and cook for 2 more minutes. Remove chicken and set aside.
Phase 3: Build the Garlic Butter Sauce (3 minutes)
Reduce heat to medium. Add butter and let it melt, swirling the pan. Add minced garlic and sauté just 30–45 seconds—until fragrant but *not* browned (or it will turn bitter). Stir in rosemary and lemon zest.
Phase 4: Braise & Finish (8–10 minutes)
Return chicken to the skillet, skin-side up. Pour in 2 tablespoons of chicken broth or water (it helps create a light steam-braise), and squeeze in the lemon juice. Cover and cook for 8–10 minutes, or until internal temperature hits 165°F (74°C). Remove lid, baste the chicken with the sauce 2–3 times, and let it rest 3 minutes before serving.
6. Expert Tips for Success
Don’t skip these seasoned secrets:
- No steam-burn! Always let the pan cool slightly before adding garlic—butter burns at 300°F, and garlic chars at just 250°F.
- Crisp-skin hack: For extra-fried texture, broil chicken skin-side up for 1–2 minutes at the end (watch closely!).
- Sauce thickness test: Want a glossy, clingy sauce? Stir in ½ tsp cornstarch slurry (mixed with 1 tsp cold water) during the last minute of simmering.
- Garlic lovers: Add 2 whole garlic cloves to the pan while searing, then remove before basting. They infuse the oil with subtle depth without burning.
7. Variations & Substitutions
- Gluten-free: naturally compliant—just ensure broth or stock used is certified GF.
- Dairy-free: swap butter for vegan butter or refined coconut oil (mild flavor).
- Keto + Low-Carb: serve over cauliflower mash or zucchini noodles. Add 1 tbsp heavy cream to the sauce for extra richness.
- Herb swap: try fresh thyme or oregano instead of rosemary—or a mix of all three.
- Spicy kick: add ¼ tsp red pepper flakes with the garlic—or a dash of hot sauce at the end.
- Make it a meal prep star: double the batch and store in fridge for up to 4 days. Reheat gently to keep chicken moist.
8. Storage & Reheating
Refrigerator: Store chicken and sauce separately in airtight containers for up to 4 days. The sauce may solidify—that’s normal! Just reheat gently.
Freezer: Freeze for up to 3 months. Thaw overnight in the fridge before reheating. (Note: texture may soften slightly but will still be delicious.)
Reheat: On stove: warm chicken in a covered skillet over low heat, adding 1 tbsp water or broth to prevent drying. In microwave: cover with a damp paper towel and heat in 30-second intervals, stirring sauce between each.
9. FAQ
Can I use chicken breasts instead of thighs?
You can—but breasts dry out more easily. Reduce cook time to 5–6 minutes covered, and ensure internal temp hits 160°F (they’ll rise to 165°F while resting). Better yet: butterfly them first for even cooking.
Why did my garlic turn bitter?
Garlic burns quickly! It only takes 30–45 seconds over medium-low heat to go from aromatic to acrid. Add it *after* butter melts, and stir constantly. If your pan is too hot, remove it from heat for 30 seconds before adding garlic.
Can I make this in the oven?
Yes. Sear chicken in a skillet first, transfer to a baking dish, pour sauce over, and bake at 375°F (190°C) for 20–25 minutes until cooked through. Broil 2–3 minutes for crisp skin.
What goes best with garlic butter chicken thighs?
We love it with creamy honey-bbq mac and cheese, roasted asparagus, or a simple arugula salad with lemon vinaigrette. For grains, try wild rice or lemon-herb quinoa.
10. Conclusion
This garlic butter chicken thighs recipe doesn’t just check every box—it *redefines* convenience. Juicy, deeply flavorful, and requiring only one pan, it proves that a fast weeknight dinner can still feel luxurious. Serve it tonight and tell us it’s not your new weeknight MVP. Bonus: It tastes even better reheated, especially if you’ve got leftovers for tomorrow’s lunch. Now go grab that skillet—and enjoy every bite.
Print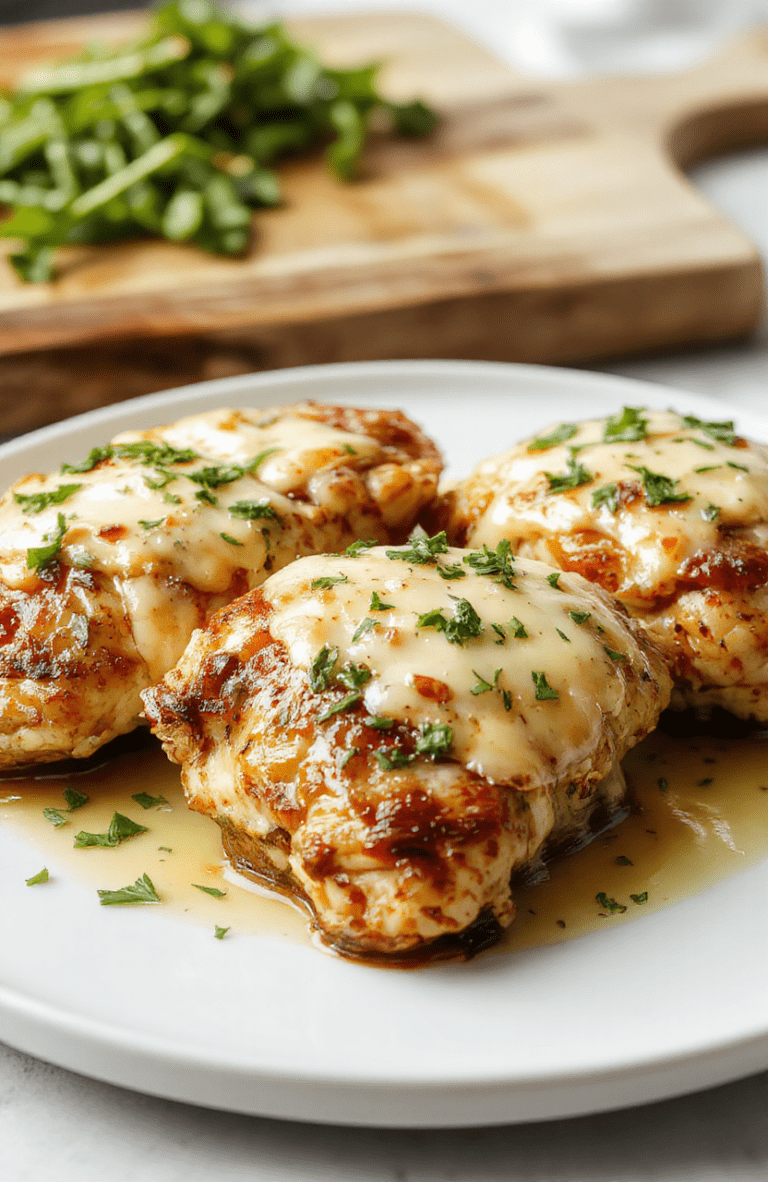
Garlic Butter Chicken Thighs
Quick, easy, and incredibly flavorful—garlic butter chicken thighs cook in one pan for minimal cleanup and maximum taste.
- Total Time: 25 minutes
- Yield: 4 servings
Ingredients
- 4 boneless, skinless chicken thighs
- 2 tbsp olive oil
- 3 tbsp unsalted butter
- 4 garlic cloves, minced
- 1 tsp smoked paprika
- 1/2 tsp dried thyme
- Salt and black pepper to taste
- Fresh parsley, chopped (for garnish)
Instructions
- Pat chicken thighs dry and season generously with salt, pepper, paprika, and thyme.
- Heat olive oil in a large skillet over medium-high heat. Add chicken and cook 5–6 minutes per side until golden and cooked through (165°F internal temperature).
- Reduce heat to low, add butter and garlic. Stir until butter melts and garlic becomes fragrant (~1 minute).
- Return chicken to pan, spooning garlic butter sauce over top. Simmer 2 minutes to absorb flavors.
- Garnish with fresh parsley and serve immediately.
Notes
- Use boneless, skinless thighs for fastest cooking—or bone-in thighs for deeper flavor (add 5–7 minutes cook time).
- Don’t skip patting the chicken dry—this ensures better sear.
- For extra richness, stir in 1/4 tsp lemon zest with the garlic.
- Prep Time: 10 minutes
- Cook Time: 15 minutes
- Method: Pan-sear
- Cuisine: American
- Diet: High Protein
Nutrition
- Serving Size: 1 chicken thigh (about 150g)
- Calories: 285 Kcal
- Sugar: 0.5g
- Sodium: 220mg
- Fat: 17g
- Saturated Fat: 7g
- Unsaturated Fat: 9g
- Trans Fat: 0g
- Carbohydrates: 2g
- Fiber: 0.3g
- Protein: 27g
- Cholesterol: 95mg