🔥 Crispy Baked Ravioli Appetizer with Cheesy Filling – The No-Fry Win That Steals the Show!
1. Introduction
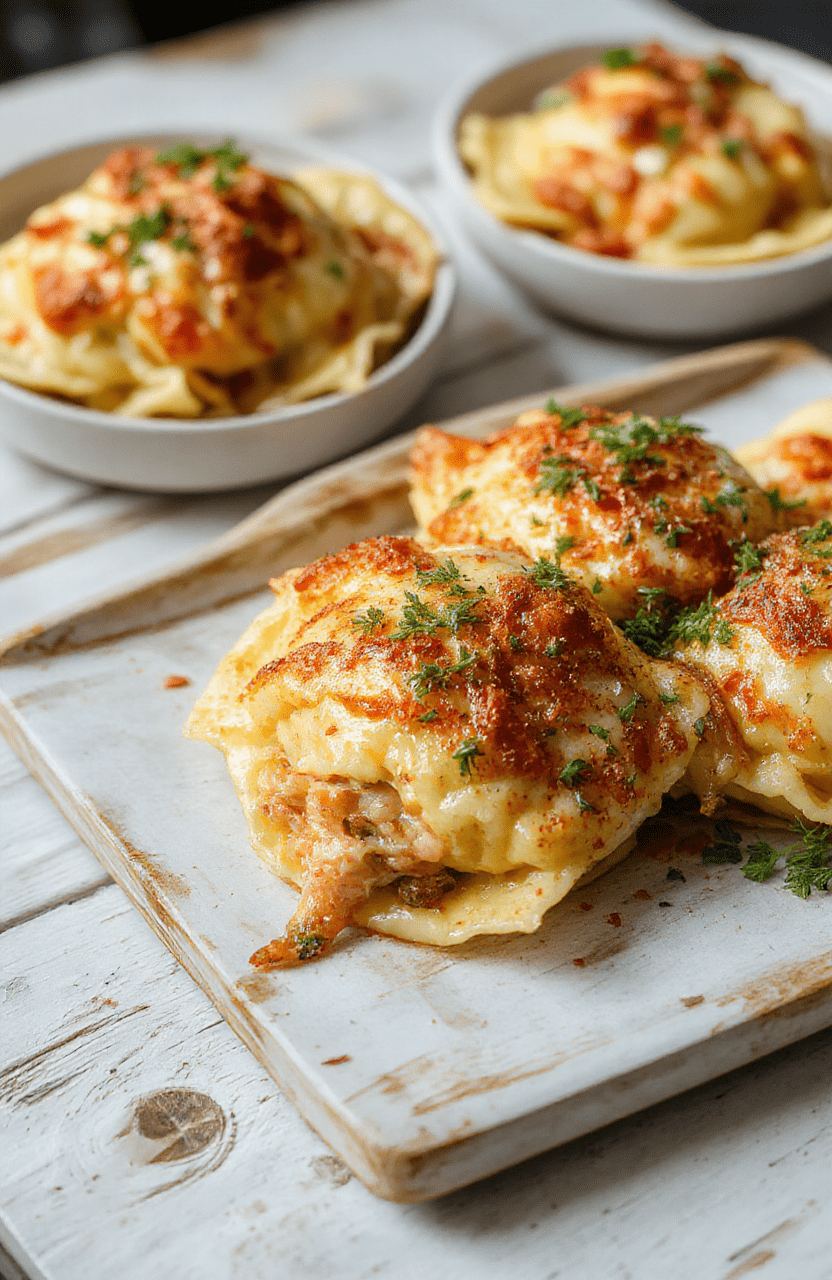
Picture this: golden-brown, crispy baked ravioli pulled straight from the oven—crackling at the edges, steam rising from the molten ricotta and mozzarella inside, and dusted with freshly grated parmesan. This isn’t just an appetizer—it’s a*moment*. While traditional fried ravioli can be messy and oil-heavy, this oven-toasted version delivers that craveable crunch without a drop of frying oil. It’s smarter, simpler, and just as indulgent. Whether you’re prepping for game day, a cozy Tuesday dinner party, or a last-minute crowd pleaser, this recipe has your back—*and your taste buds*.
2. Why You’ll Love This Recipe
- Ready in under 30 minutes—no deep-fry prep, no waiting for oil to heat.
- One-pan wonder—minimal cleanup after a feast-worthy spread.
- No special skills needed—just a bit of love, your baking sheet, and maybe a pinch of creativity.
- Perfectly portable & crowd-tested—disappears fast at potlucks, Super Bowl Sundays, or holiday buffets.
- DIY-friendly—use store-bought ravioli or try making your own (we link some top tools below if you’re ready to level up!).
3. Ingredient Notes
Quality *makes* this dish—not because it’s fancy, but because every bite should sing. Here’s why each element matters:
- Dried or fresh ravioli? We recommend frozen, *pre-cooked* cheese ravioli (like Giorgio’s or Whole Foods’ 365 brand) for consistency. Fresh ravioli can overcook and split—stick with the frozen kind for reliable texture.
- Ricotta, not cottage cheese—creamy, clean-tasting ricotta melts just right. If you’re DIY-ing the filling, drain it in a fine mesh sieve for 15 minutes to avoid soggy centers.
- Panko > regular breadcrumbs—their larger, flakier crumbs expand more in the oven, giving that signature *shatter-crisp* exterior.
- Grated Parmigiano-Reggiano over pre-shredded—pre-shredded has anti-caking agents that hinder browning. A microplane zest over the top right before baking is worth it.
- Extra-virgin olive oil is non-negotiable—skip the “light” versions. A robust, fruity Italian olive oil (like California or Tuscany-sourced) gives depth and helps the panko crisp evenly.
4. Kitchen Tools You Need
While you *can* make this with basic sheet pans and brushes, the right tools make all the difference between “just okay” and “restaurant-worthy.” Here’s what makes this recipe foolproof:
- Ninja Air Fryer Pro Crisp & Roast 4-in-1—for those who want even *more* crunch without flipping. Set it to “Air Fry” at 400°F for 6–7 minutes and walk away. *Game-changer for no-fry ravioli appetizer.*
- T-fal 14-Piece Hard Anodized Nonstick Cookware Set—the rimmed baking sheet in this set has perfect depth for tosses (like tossing ravioli in oil pre-bake) and slides cleanly into any oven.
- Philips 7000 Series Pasta Maker with 8 Shaping Discs—if you ever want to try making your own ricotta-filled ravioli (we dream), this machine delivers store-bought texture *and* joy.
- JoyJolt Airtight Glass Food Storage Set—perfect for storing leftover dipping sauce or prepping the ravioli ahead (they keep well uncooked for 24 hours).
No fancy gear? That’s fine—just a rimmed baking sheet, a silicone brush, and a clean towel to dry the ravioli (yes, drying is crucial—more on that in the tips!).
5. How to Make Crispy Baked Ravioli
A heads-up: This isn’t just “pop in the oven and hope.” There’s science in the browning—and we’ll walk you through it.
Phase 1: Prep & Dry (Most Forgotten Step!)
Take frozen ravioli straight from the freezer (don’t thaw!). Lay them in a single layer on a parchment-lined baking sheet and pat *very gently* with paper towels. Then, let them rest at room temperature for 10 minutes—this slight defrost lets them cook evenly, but crucially, the surface moisture must evaporate for crispness. No dry surface = steamed ravioli, not crispy.
Phase 2: Flavor & Coating
In a shallow dish, mix 1 cup panko, ¼ cup grated Parmesan, 1 tsp garlic powder, ½ tsp smoked paprika (yes—smoked paprika adds warmth without heat), and a pinch of red pepper flakes. Brush *both sides* of each ravioli with olive oil, then press firmly into the coating. Pressing is key—loose crumbs fall off in the oven. Seal the deal by placing them coating-side-up on a fresh parchment-lined sheet.
Phase 3: Bake to Perfection
Preheat oven to 425°F (top rack position—heat hits better). Bake for 8 minutes, rotate the pan, then bake another 5–6 minutes until deeply golden and puffed. For extra crunch, broil for 60–90 seconds—watch like a hawk! (Ovens vary wildly.)
Visual cue: You should see *crinkles* in the crust and hear faint crackling. The ravioli should bounce back lightly when touched—and leave a faint golden “foot” on the baking sheet.
6. Expert Tips for Success
- Don’t overcrowd—give ravioli at least ½ inch of space. Steam builds and kills crispness fast. Use two trays if needed.
- Air circulation matters—if using a standard oven, place a second rack above to prevent tops from browning too fast while undersides stay pale.
- Double-bake trick—for make-ahead: bake once, cool completely, freeze. Then bake straight from frozen (add 2–3 minutes) for fresh-out-the-oven texture.
- Serve warm—but not hot—let them rest 3 minutes off-heat. The ricotta centers settle just enough to flow beautifully when bitten.
7. Variations & Substitutions
Play, don’t just follow—this is adaptable comfort food:
- Gluten-free—swap panko for gluten-free panko or crushed rice crackers (like Rice Chex).
- Spicy swap—add 1 tbsp sriracha to the ricotta mix or mix ½ tsp cayenne into the crumbs.
- Plant-powered—use vegan ravioli and a cashew-ricotta (blend soaked cashews, nutritional yeast, lemon, garlic, salt).
- Meat-lover’s upgrade—mix ¼ cup cooked, finely crumbled bacon or pancetta into the coating.
- Sauce ideas—balsamic glaze, marinara (heated), garlic-herb mayo, or honey-whipped ricotta for dipping.
8. Storage & Reheating
Fridge: Store leftovers in an airtight container for up to 3 days. They lose crispness—but we have a fix.
Reheat: Air fry at 375°F for 4–5 minutes until sizzling. Oven: 400°F for 8–10 minutes on a wire rack (keeps them elevated, crisp underneath).
Freezer: Flash-freeze unbaked, then bag. Bake from frozen, adding 3–4 minutes. Best within 1 month.
9. FAQ
Q: Can I use fresh ravioli?
A: Not recommended. Fresh ravioli has higher moisture and is more delicate—they’ll split and leak. Stick with frozen, *pre-cooked* cheese ravioli for best results.
Q: Why did my ravioli turn out chewy instead of crispy?
A> Most likely: surface moisture wasn’t fully dried, or the oven wasn’t hot enough. Always preheat 15+ minutes, and dry the ravioli well before coating.
Q: Can I make this gluten-free?
A> Absolutely—see the variation above. Or use GF rice-based ravioli and GF panko. The bake time stays similar.
Q: How do I make extra-crispy ravioli?
A> Double-coat: oil + crumbs → bake 5 min → cool 2 min → oil light → crumbs again → bake again. It’s worth the extra step for that golden armor.
10. Conclusion
This crispy baked ravioli appetizer proves that smart swaps don’t mean sacrificing joy. It’s the kind of dish people ask for by name—and it’s *so* easy to scale for 6 or 24. Pair it with one of our creamy soup favorites like creamy crockpot potato soup or creamy Tuscan chicken soup for a heartwarming one-two punch. Now go forth, bake those ravioli, and watch them disappear—and remember: crispness isn’t luck, it’s method.
Print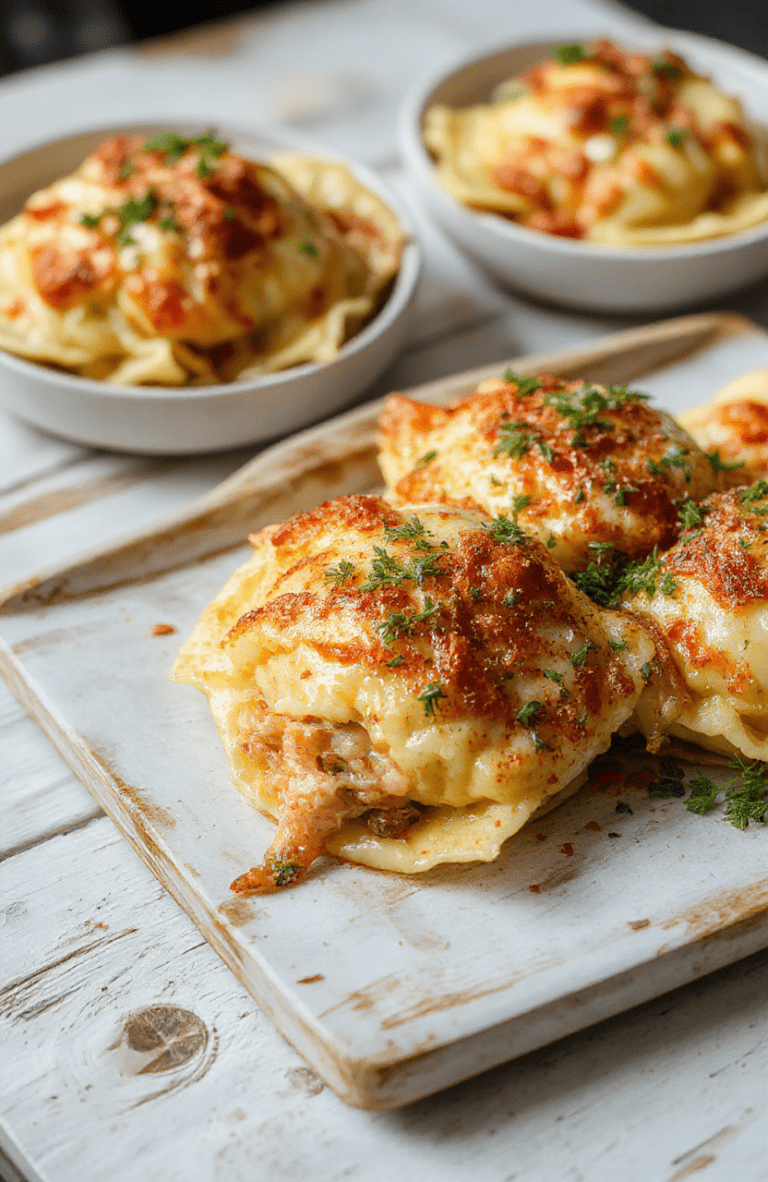
Crispy Baked Ravioli Appetizer with Cheesy Filling
A healthy, easy no-fry twist on the beloved Italian-American appetizer — oven-baked to golden perfection with a cheesy, savory filling.
- Total Time: 22 minutes
- Yield: 4 servings
Ingredients
- 12 frozen cheese ravioli (or homemade)
- 2 tbsp olive oil
- 1 tsp garlic powder
- 1 tsp dried oregano
- ¼ tsp salt
- ¼ tsp black pepper
- 2 tbsp grated Parmesan cheese
- ⅓ cup marinara sauce (plus extra for dipping)
Instructions
- Preheat oven to 425°F (220°C) and line a baking sheet with parchment paper.
- In a small bowl, mix olive oil, garlic powder, oregano, salt, and pepper.
- Place frozen ravioli on the baking sheet and brush or spray evenly with the oil mixture.
- Bake for 12 minutes, flip carefully, and bake 5–7 more minutes until golden and puffed.
- Transfer to a serving platter, sprinkle with Parmesan, and serve warm with marinara sauce for dipping.
Notes
- For extra crispiness, spray ravioli lightly with cooking oil before baking.
- Can add ¼ tsp red pepper flakes to the oil mix for a spicy kick.
- Works great with spinach & cheese or meat-filled ravioli too.
- Prep Time: 5 minutes
- Cook Time: 17 minutes
- Method: Baking
- Cuisine: Italian-American
- Diet: Vegetarian
Nutrition
- Serving Size: 3 ravioli
- Calories: 210 Kcal
- Sugar: 3g
- Sodium: 340mg
- Fat: 8g
- Saturated Fat: 3g
- Unsaturated Fat: 4g
- Trans Fat: 0g
- Carbohydrates: 28g
- Fiber: 2g
- Protein: 9g
- Cholesterol: 15mg