© Original recipe by Savor & Snap ©
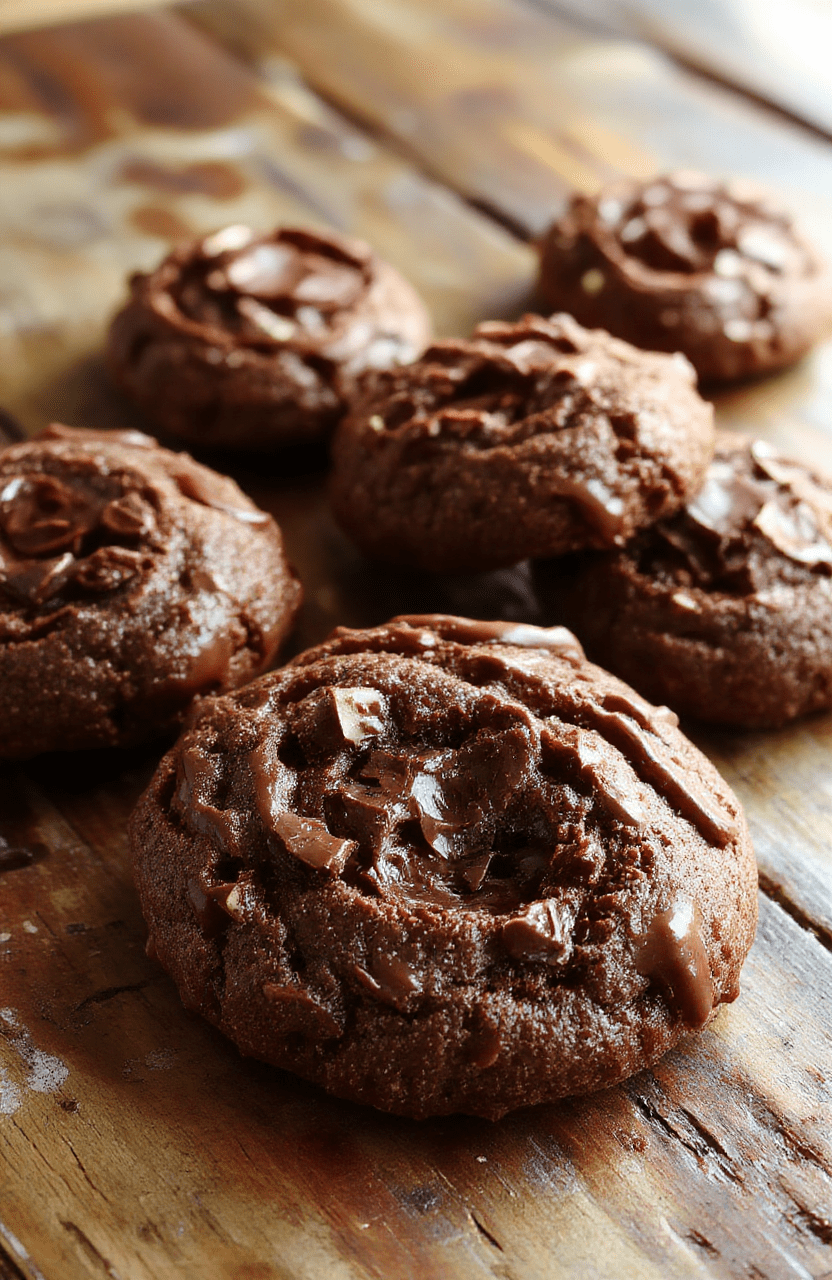
🍫✨ Chewy Chocolate Thumbprint Cookies — Easy Fudgy Dessert Delight!
1. Introduction
If you’re craving a rich, chocolatey treat with a delightful chewy texture, these Chewy Chocolate Thumbprint Cookies are your perfect match. Combining the decadence of fudgy dessert with the charm of thumbprint cookies, this recipe delivers on flavor and texture. The glossy chocolate center nestled in a tender, chewy cookie shell makes every bite irresistibly satisfying. Whether you’re baking for a special occasion or just want a quick sweet fix, these cookies are sure to impress with their luscious chocolate filling and melt-in-your-mouth consistency.
2. Why You’ll Love This Recipe
- Ready in under 30 minutes — perfect for last-minute cravings.
- Incredibly chewy and fudgy, offering a rich chocolate experience.
- Simple ingredients with minimal fuss — no fancy tools required.
- Flexible for customization with various chocolate fillings or toppings.
- Great for sharing — makes a beautiful gift or party treat.
3. Ingredient Notes
To achieve the perfect chewy texture and intense chocolate flavor, only high-quality ingredients matter. Use good quality dark chocolate or semi-sweet chips for a smooth, rich center. For the chewy cookies, opt for fresh unsalted butter to enhance flavor and ensure optimal spread. Brown sugar lends a natural caramel note and helps keep the cookies moist. Vanilla extract enhances the deep chocolate taste and adds warmth. For the flour, use all-purpose for the right structure but don’t overmix to maintain that tender, chewy bite.
Pro tip: You can experiment with add-ins like chopped nuts or sea salt on top for extra texture and flavor contrast.
4. Kitchen Tools You Need
For the best baking experience, a few key tools are essential. A reliable Compact 6-in-1 Digital Air Fryer can even be used to quickly and evenly bake small batches of cookies, ensuring a perfectly crisp edge. A sturdy T-fal 14-Piece Hard Anodized Nonstick Cookware Set makes handling delicate cookies effortless, preventing sticking or breakage. And a high-quality KitchenAid Artisan 5-Quart Stand Mixer speeds up mixing, ensuring your dough is smooth and well-incorporated. Investing in the right tools makes baking these fudge-filled cookies a breeze!
5. How to Make Chewy Chocolate Thumbprint Cookies
Preparing the Dough
Begin by creaming together unsalted butter and brown sugar until the mixture is light and fluffy—this will give your cookies that tender, chewy texture. Then, beat in a large egg and vanilla extract, followed by sifted all-purpose flour and a pinch of salt. The dough should be slightly sticky but manageable. Chill the dough for about 15 minutes to prevent spreading during baking.
Forming and Baking the Cookies
Roll the dough into small balls, about 1 inch in diameter, and place them on a lined baking sheet. Use your thumb or the back of a small spoon to create a well in the center of each ball. Bake at 350°F (175°C) for approximately 10-12 minutes, or until the edges are just beginning to turn golden. The aroma of cocoa and vanilla should fill your kitchen—welcoming and comforting.
Adding the Chocolate Filling
While the cookies cool slightly, melt your preferred chocolate in a double boiler or microwave. Drop a spoonful of melted chocolate into each thumbprint, filling the well. Let the chocolate set completely at room temperature or refrigerate briefly for faster results. The finished cookies will have a shiny, fudgy center that’s perfectly gooey and rich.
6. Expert Tips for Success
- Chill the dough before baking to prevent spreading and ensure chewy texture.
- Use fresh, high-quality chocolate for the best fudgy center—consider Breville Nespresso Vertuo Creatista Espresso & Coffee Maker or similar for premium melting chocolate.
- Don’t overbake; cookies will firm up as they cool, maintaining that chewy interior.
- Feel free to tint or flavor the chocolate with a splash of peppermint or espresso for a customized twist.
7. Variations & Substitutions
If you’re looking to make this recipe dairy-free, substitute vegan butter and dairy-free chocolate chips. To add a nutty flavor, fold in chopped pecans or walnuts into the dough before baking. For a vegan version, use aquafaba instead of eggs. You can also swap brown sugar with coconut sugar for a slightly different sweetness profile.
8. Storage & Reheating
Store these cookies in an airtight container at room temperature for up to 3 days or in the refrigerator for up to a week. To restore freshness, briefly warm the cookies in a low oven or microwave for a few seconds so the chocolate topping becomes gooey again. For longer storage, freeze individually wrapped cookies for up to 3 months.
9. FAQ
Can I make these cookies gluten-free?
Yes, substitute the all-purpose flour with a gluten-free flour blend. Ensure the blend contains xanthan gum for the best structure.
How do I prevent the cookies from spreading too much?
Chill the dough thoroughly before baking, and don’t flatten the balls too much. Using parchment paper also helps maintain shape.
Can I fill the thumbprints with other fillings?
Absolutely! Nut butter, caramel, or fruit jam can add delightful variation. Just fill the well after baking to prevent melting during the baking process.
10. Conclusion
These Chewy Chocolate Thumbprint Cookies embody the perfect harmony of fudgy richness and chewy texture. Easy to make and irresistibly delicious, they’re a must-try for any chocolate lover. With a few simple ingredients and some expert tips, you can create an indulgent treat that looks as impressive as it tastes. Happy baking!
Print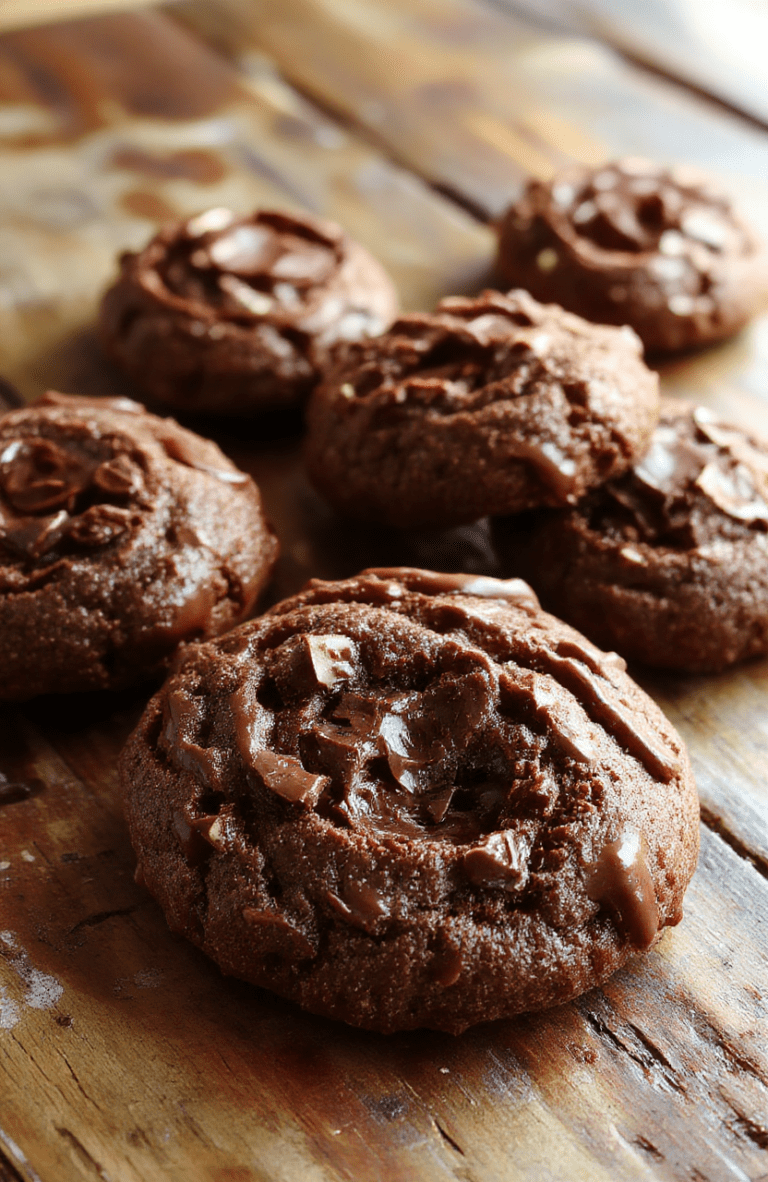
Chewy Chocolate Thumbprint Cookies Easy Fudgy Dessert
These chewy chocolate thumbprint cookies are quick to make with simple ingredients, featuring a fudgy chocolate center and a textured cookie exterior. Perfectly portioned for dessert or snack time.
- Total Time: 27 minutes
- Yield: 24 cookies
Ingredients
- 1 cup unsalted butter, softened
- 1 cup granulated sugar
- 1 large egg
- 2 teaspoons vanilla extract
- 2 cups all-purpose flour
- 1/2 cup unsweetened cocoa powder
- 1/4 teaspoon salt
- 1 cup chocolate chips or chopped chocolate
Instructions
- Preheat oven to 350°F (175°C). Line baking sheets with parchment paper.
- Cream together butter and sugar until light and fluffy.
- Add egg and vanilla, mix until combined.
- In a separate bowl, whisk together flour, cocoa powder, and salt.
- Gradually add dry ingredients to wet, mixing until dough forms.
- Shape dough into 1-inch balls and place on baking sheet.
- Bake for 10-12 minutes until edges are set.
- While still warm, make an indentation in the center of each cookie and fill with melted chocolate or chocolate chips.
- Cool completely before serving.
Notes
- Chill the dough if it becomes too soft to handle.
- Use high-quality chocolate for the center for a richer flavor.
- Store cookies in an airtight container for up to a week.
- Prep Time: 15 minutes
- Cook Time: 12 minutes
- Method: Baking
- Cuisine: American
- Diet: Vegetarian
Nutrition
- Serving Size: 1 cookie
- Calories: 150 Kcal
- Sugar: 10g
- Sodium: 40mg
- Fat: 8g
- Saturated Fat: 5g
- Unsaturated Fat: 3g
- Trans Fat: 0g
- Carbohydrates: 20g
- Fiber: 2g
- Protein: 2g
- Cholesterol: 15mg